 A Comprehensive Guide to Installing a Panoramic Sunroof in Your Vehicle
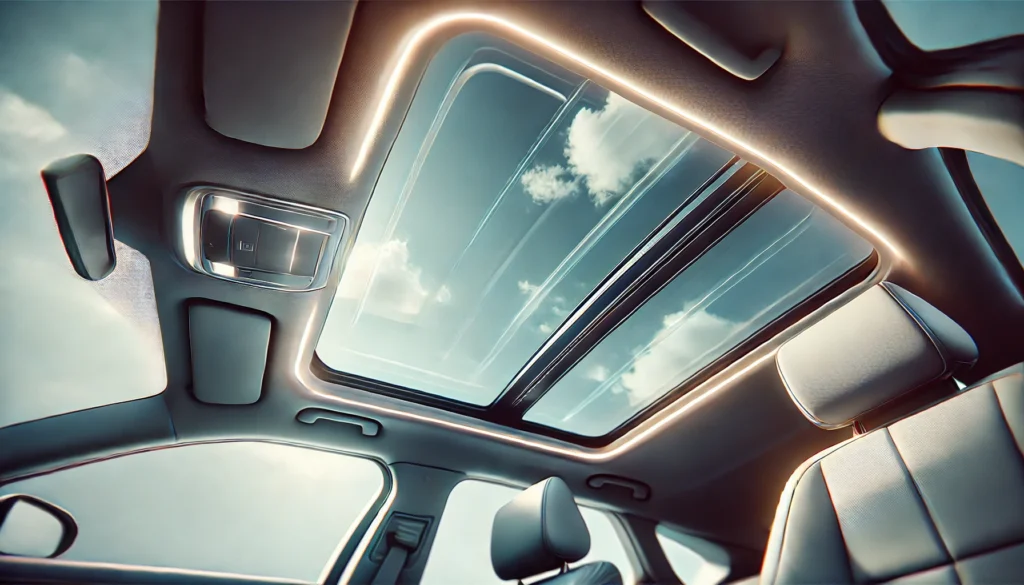
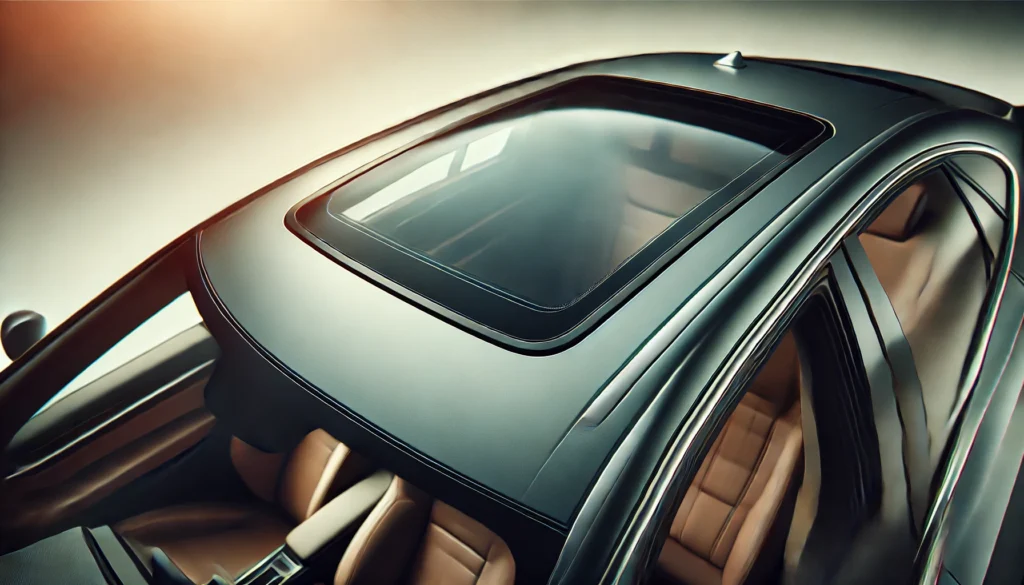
A panoramic sunroof can greatly enhance your driving experience by providing an expansive view of the sky. Although slightly more expensive and complex to install compared to traditional sunroof options, it adds significant value and enjoyment to your vehicle. This guide will walk you through the process of installing a panoramic roof, including essential tools and considerations for a successful installation.
Determining Vehicle Compatibility
Before starting your panoramic roof installation, ensure your vehicle is suitable for this upgrade:
- Consult with a Specialist: Contact a professional who specializes in your vehicle’s make and model to verify if a panoramic sunroof can be installed. Aftermarket options are available for various vehicles such as the Subaru Outback Wagon, Mini Cooper, Malibu Maxx, Scion TC, and many minivans and SUVs.
- Choose the Type of Roof: Decide whether you want a panel or operable sunroof. Panel versions are easier to install as they lack moving parts, whereas operable versions offer additional ventilation and viewing options.
Gathering Tools and Supplies
To ensure a smooth installation, gather all the necessary tools and materials:
- Tools Required: You will need a nibbler or saw, a power drill, an electric die grinder, screwdrivers, and wrenches.
- Purchase a Kit: Obtain a panoramic sunroof installation kit from an online store or an auto parts retailer. Kits generally cost between $100 and $200.
Installation Steps
Follow these detailed steps to install your panoramic roof:
- Prepare the Roof: Remove the template from the kit and position it on your vehicle’s roof. Secure it temporarily with tape and mark where the holes will be drilled for the end deflector.
- Drill Holes: Drill the required holes for the end deflector as indicated on the template. Most kits require a total of six holes.
- Cut the Roof: Use a die grinder, nibbler, or saber saw to trim the area around the marked template. Once removed, discard the metal rectangle.
- Remove Interior Components: Disconnect the interior lighting and remove it.
- Prepare the Headliner: Cut the headliner along the outline of the roof cutout using a razor blade. Attach side strips and foil pieces around the edges of the newly created hole.
- Install the End Deflector: Attach the end deflector using washers and sealers provided in the kit.
- Fit the Roof: Place the sunroof into the opening and ensure the rubber seals are properly in place. Attach the clamp frames, connect the wires, and test the switch to ensure it operates correctly.
- Complete the Installation: Install the front, rear, and side covers using push-in attachments. Align the edge protection and trim any excess material.
Tips and Recommendations
- Prepare Your Workspace: Clean the area before beginning the installation to avoid contamination and ensure a smooth process.
- Find the Right Kit: Panoramic roof kits can be difficult to locate. If you cannot find one that fits your vehicle, consider using the largest available “popup” option as an alternative.

